Users can create a broadcast. Below is a guide on how to add a broadcast:
Step 1:
To add a broadcast, click Add Broadcast yang terletak sebelah kanan atas. Setelah itu sistem akan mengarahkan anda pada halaman Create Broadcast
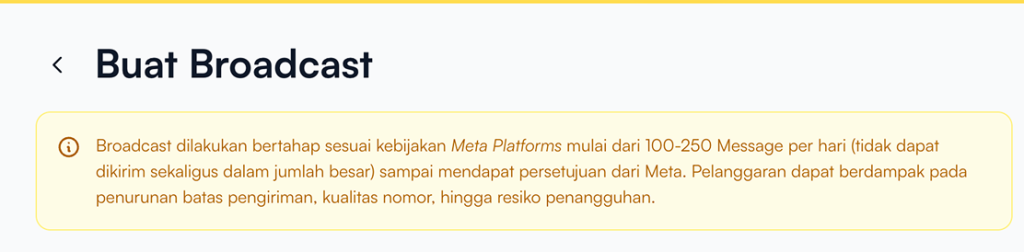
Before creating a broadcast, make sure to review the information displayed at the top of the page.
Broadcasts are sent gradually in accordance with Meta’s policies (approximately 100–250 messages per day) and cannot be delivered all at once in large volumes.
Violating these policies may result in:
- Reduced sending limits
- Decreased number quality rating
- Risk of account suspension
Step 2:
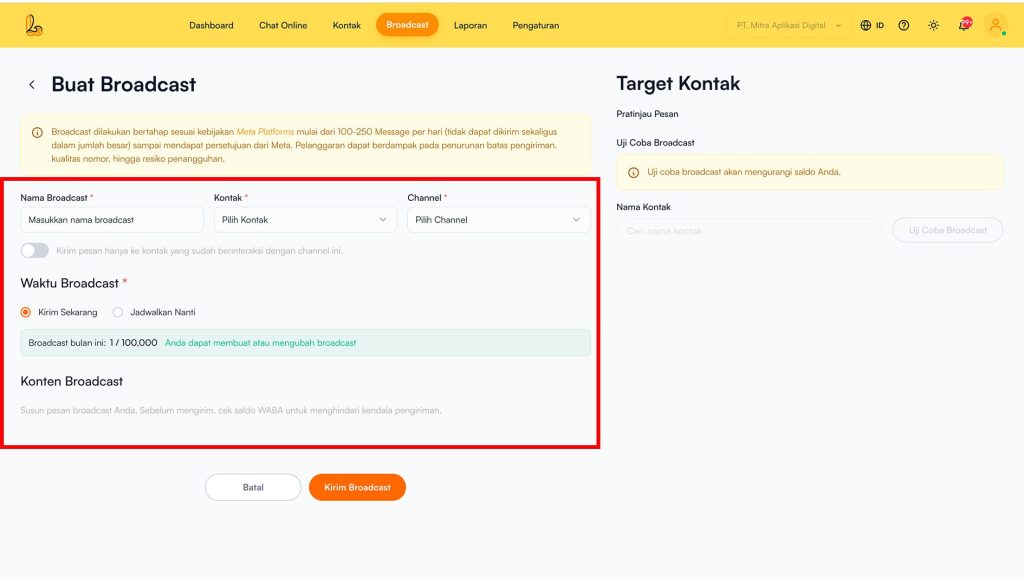
Complete the form below:
| Information | Description |
|---|---|
| Broadcast Name | Enter a name for your broadcast message |
| Contact | Select the contact list that will receive the broadcast |
| Channel | Choose the channel to be used (currently supports WhatsApp) |
| Interaction Filter (Optional) | “Send messages only to contacts who have interacted with this channel,” enable this option if you want to send broadcasts only to contacts who have previously interacted. |
Step 3:
Users can choose the delivery time:
- Send Now
The broadcast will be sent immediately after confirmation. - Schedule for Later
The broadcast will be sent according to the selected schedule:
Broadcast Date → Select the delivery date.
Broadcast Time → Select the delivery time.
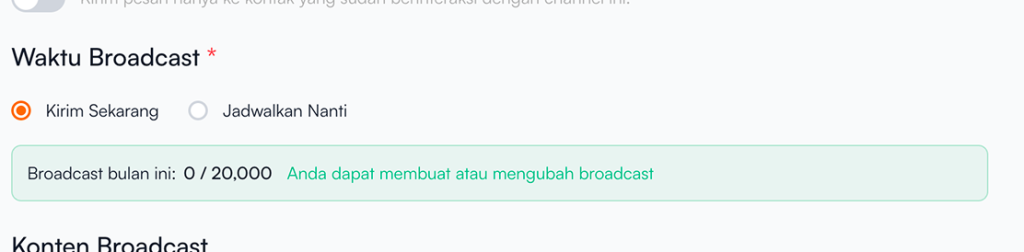
Broadcast Quota Information
In this section, users can view the total number of broadcast messages available. Based on the example shown, you have used 0 out of 20,000 broadcast messages included in your quota.
Step 4:
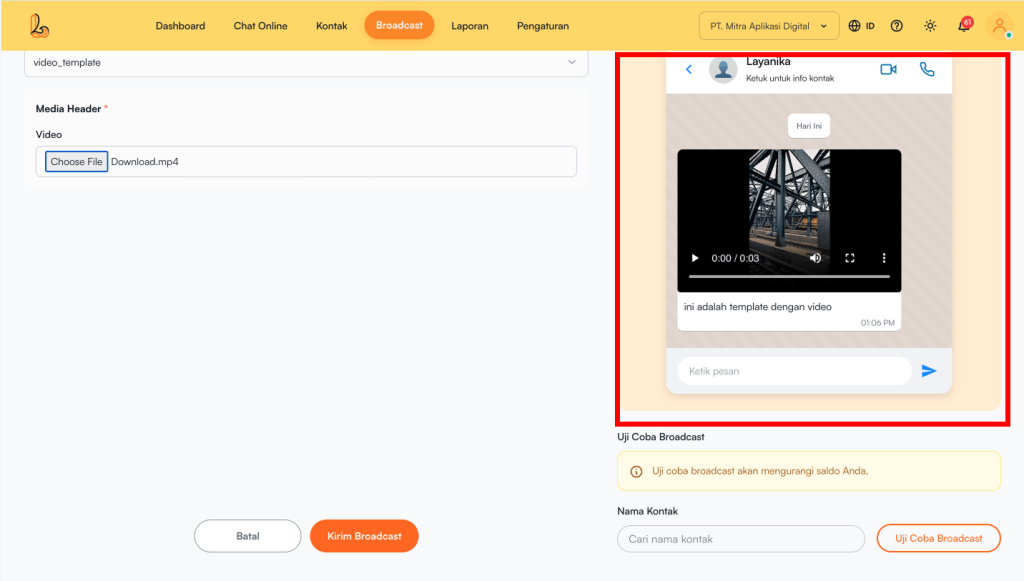
The broadcast content is based on a pre-created WhatsApp message template. If you don’t have a template yet, please create one by following this guide: How to Create a Broadcast Template
Step 5:
Users can preview the message before it is sent using the message preview feature.

Step 6:
The broadcast test feature allows users to send a trial message before delivering it to recipients. This helps ensure that the message content is displayed correctly.
Keep in mind:
- Test broadcasts will deduct from your available balance.
- Ensure that the selected contacts are valid and able to receive messages through the chosen channel.
Step 7:
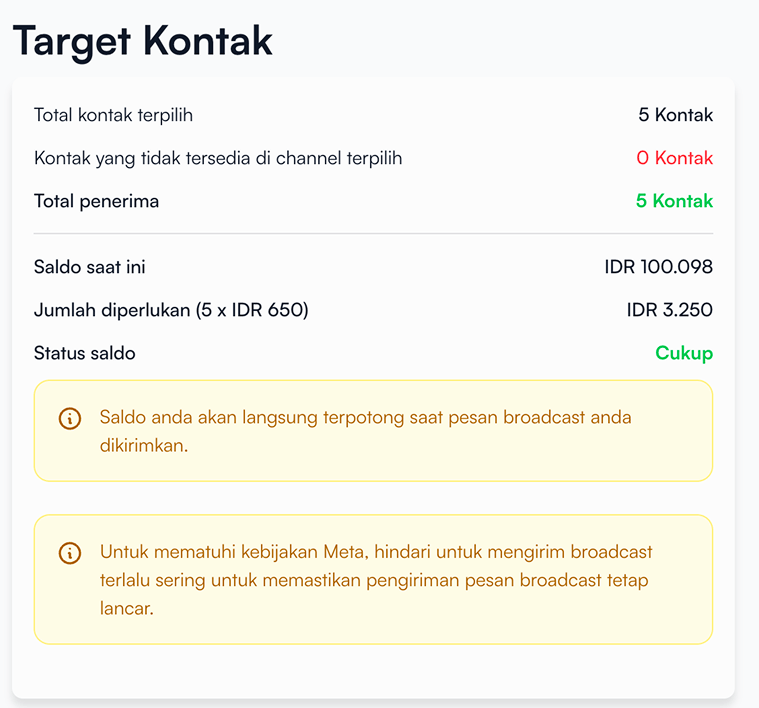
Before sending the broadcast, make sure to review the following information:
| Information | Description |
|---|---|
| Total selected contacts | Number of contacts selected as the broadcast target |
| Kontak yang tidak tersedia pada channel terpilih | Contacts that cannot receive the broadcast (e.g., not connected to WhatsApp) |
| Total recipients | Number of contacts who will receive the broadcast |
| Current balance | The total balance available to the user. |
| Amount required | Number of contacts who will receive the broadcast |
| Balance status | Estimated cost for sending the broadcast |
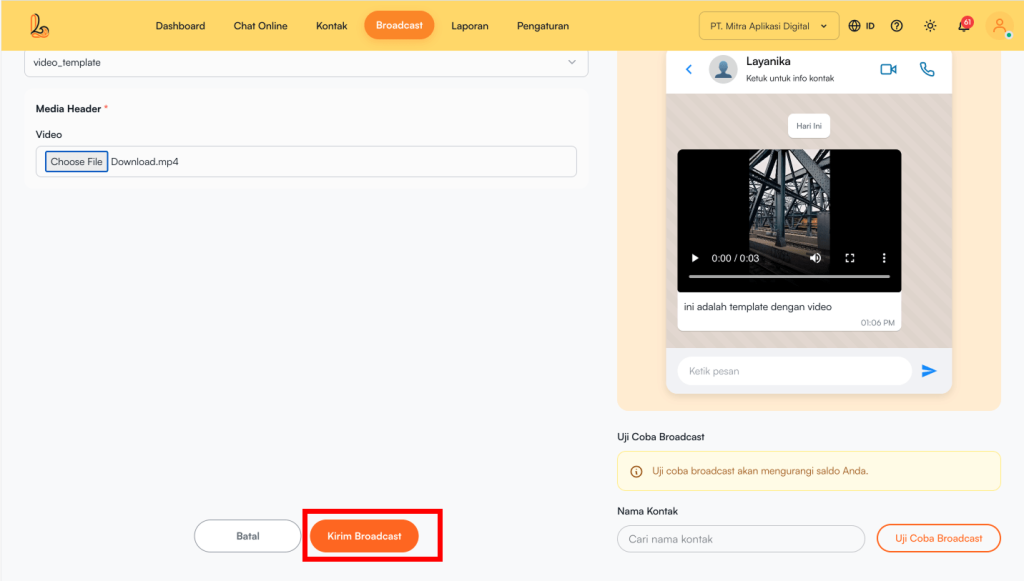
Step 8:
Once all data and content are completed correctly:
- Ensure the broadcast content is ready.
- Make sure the target contacts are selected and your balance is sufficient.
Click Send Broadcast to send the message.