The User menu is used to manage all user (agent) accounts with access to the system. Through this menu, users can add new users, assign roles, and manage user access status for handling customer conversations.
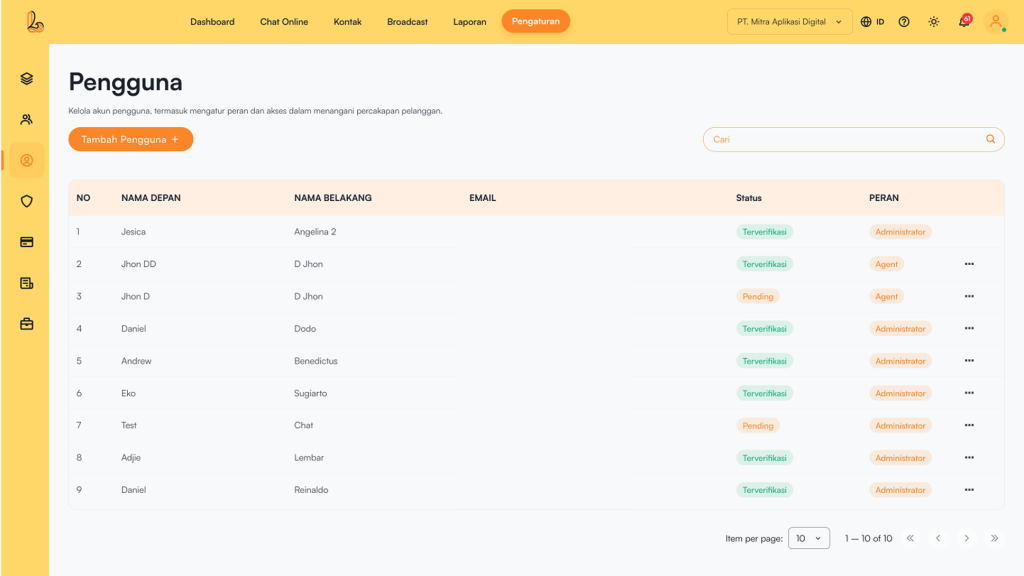
The following information is displayed in the table:
| Colom | Description |
|---|---|
| First Name | The user's first name |
| Last Name | The user's last name |
| The user's email address | |
| Status | The user account verification status (Verified: active account, Pending: not yet activated/verified) |
| Roles | The user's access level or role within the system (Administrator, Supervisor, Agent) |
| More | Menu for managing the user (edit or delete) |
User Role Types #
1. Administrator
- Has full access to all system features.
- All menus and actions are enabled by default.
- Access cannot be restricted for security reasons.
- Can manage access permissions for:
- Supervisor
- Agent
2. Supervisor
- Has limited access (not full like an Administrator).
- Can manage access permissions for Agent.
- Cannot modify or manage Administrator permissions.
3. Agent
- Does not have access to permission settings.
- Does not have access to the User Role Permissions.
- Performs operational tasks based on assigned permissions.
a. Add User #
Add User is used to add new users to your workspace.
Steps to add a new user:
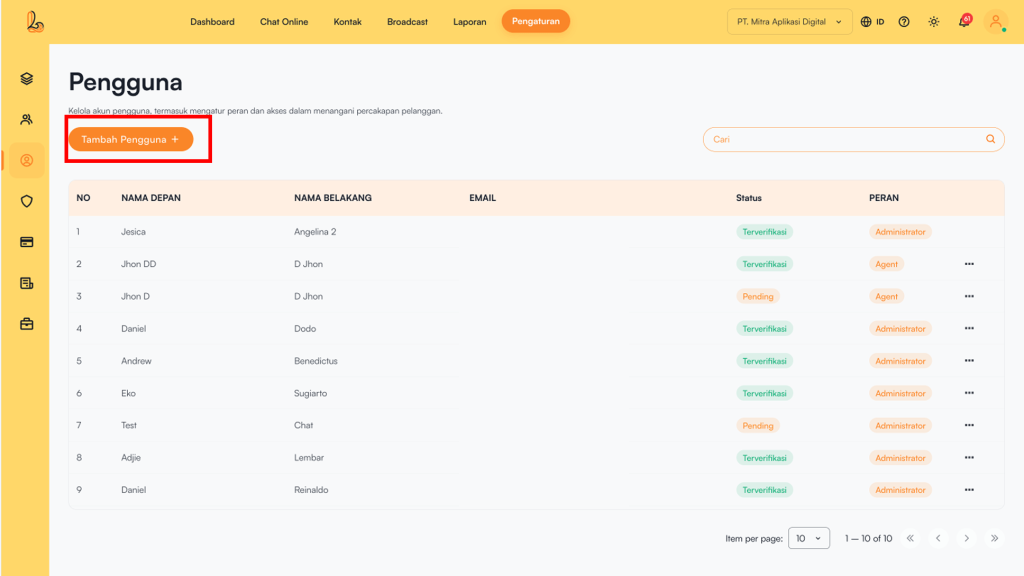
Step 1:
To add a user, click "Add User" located at the top right corner.
Step 2:
The system will then display the Add User page. Fill in the form to add a new user. The required information includes:
| Input | Description |
|---|---|
| First Name | The user's first name |
| Last Name | The user's last name |
| Email Address | The email used as the login account. This email must be unique and cannot be the same as an existing user |
| Roles | The user's access level within the system (Administrator, Supervisor, Agent) |
Step 3:
Make sure all information is filled in correctly, then click Save.
If the user has not received an invitation to join your workspace, you can click Resend Invitation.
b. Edit User #
Users can update the user’s name, email address, and assigned role. Below is a guide to editing an existing user.
To edit a user, select the user you want to modify from the user list. Then click Edit to update the user details. After making the necessary changes, click Save.
c. Delete User #
Users can delete accounts that are no longer needed using the Delete User option. This helps remove users who are no longer relevant.