User Groups in Layanika is a feature used to organize users based on roles, divisions, or specific functions within an organization. This grouping enables more structured and efficient management of access control, task distribution, and team coordination.
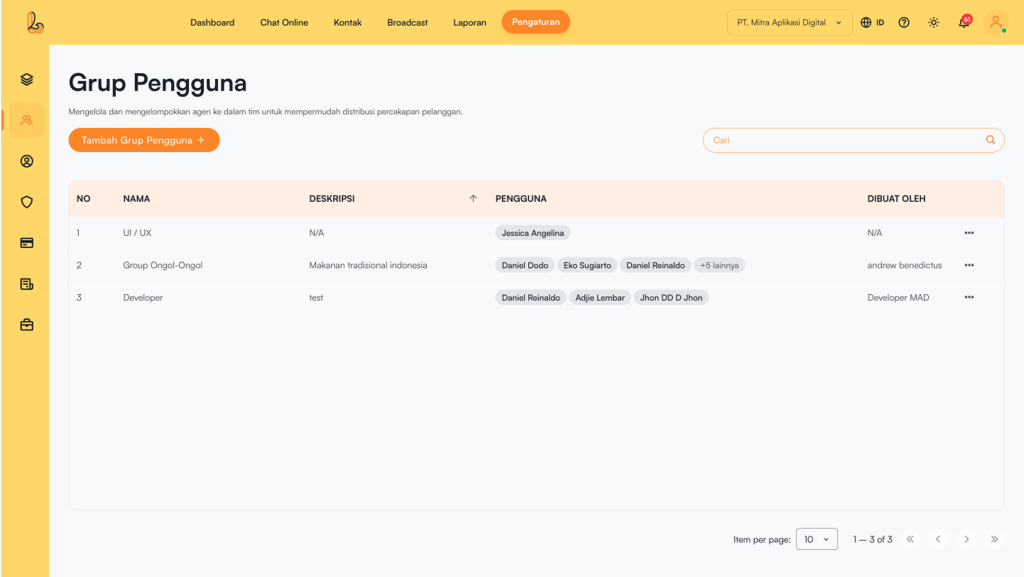
The User Group table includes the following information:
| Colom | Description |
|---|---|
| Name | The name of the user group |
| Description | A description of the group |
| User | A list of members within the group |
| Created By | Information about the user who created the group |
| More | Menu for managing the group (edit or delete) |
a. Add User Group #
Add User Groups is used to create groups of users (agents) within the system. Below is a guide to adding a new group:
Step 1:
To add a group, click Add User Group located in the top-right corner. The system will then display the Add User Grouppage. Fill in the form to create a new group. Required fields include:
| Input | Description |
|---|---|
| User Group Name | The name of the group to be created (this field is required) |
| Description | Additional details about the group |
| User | Select one or more users from the available list |
Step 2:
Make sure all information is filled in correctly, then click Save.
b. Edit Group #
Users can update the group name, description, and assigned users within the group. Below is a guide to editing an existing group.
To edit a group, select the group you want to modify from the group list. Then click Edit to update the group details. After making the necessary changes, click Save.
c. Delete Group #
Users can delete groups that are no longer needed using the Delete Group option. This helps remove groups that are no longer relevant. Steps to delete a group:
To delete a group, select the group you want to remove from the group list. Then click Delete to delete group. The system will display a confirmation prompt asking whether you want to delete the group. If you are sure, click Yes, Delete.